linuxer-admin

aws-sns-kms-cmk

aws 관리형키를 사용할 경우 sns 암호화를 하면 cloudwatch 에서 호출이 안된다....

작업 arn:aws:sns:ap-northeast-2:userid:sns_topic을(를) 실행하지 못했습니다. 수신 오류: 'null (Service: AWSKMS; Status Code: 400; Error Code: AccessDeniedException; Request ID: 60c4ef-f3bb-4c89-98c8-67317fc18a)'

이런 에러가 발생한다. 이경우 CMK 를 이용해서 SNS 암호화를 해야한다.

https://aws.amazon.com/ko/premiumsupport/knowledge-center/cloudwatch-receive-sns-for-alarm-trigger/

다음 링크를 참조했다.

위와 같은 구성으로 생성하고 정책을 적용한다.

{
"Version": "2012-10-17",
"Id": "EMR-System-KeyPolicy",
"Statement": [
{
"Sid": "Allow access for Root User",
"Effect": "Allow",
"Principal": {
"AWS": "arn:aws:iam::userid:root"
},
"Action": "kms:*",
"Resource": "*"
},
{
"Sid": "Allow access for Key Administrator",
"Effect": "Allow",
"Principal": {
"AWS": "arn:aws:iam::userid:root"
},
"Action": [
"kms:Create*",
"kms:Describe*",
"kms:Enable*",
"kms:List*",
"kms:Put*",
"kms:Update*",
"kms:Revoke*",
"kms:Disable*",
"kms:Get*",
"kms:Delete*",
"kms:TagResource",
"kms:UntagResource",
"kms:ScheduleKeyDeletion",
"kms:CancelKeyDeletion"
],
"Resource": "*"
},
{
"Sid": "Allow access for Key User (SNS IAM User)",
"Effect": "Allow",
"Principal": {
"AWS": "arn:aws:iam::userid:root"
},
"Action": [
"kms:GenerateDataKey*",
"kms:Decrypt"
],
"Resource": "*"
},
{
"Sid": "Allow access for Key User (SNS Service Principal)",
"Effect": "Allow",
"Principal": {
"Service": [
"sns.amazonaws.com",
"cloudwatch.amazonaws.com"
]
},
"Action": [
"kms:GenerateDataKey*",
"kms:Decrypt"
],
"Resource": "*"
}
]
}

userid 부분만 수정해주면 잘작동한다.

aws-s3-delete-mfa-enable

오늘은 s3 delete 를 mfa 로 제한하는 방법에 대해서 포스팅 해보겠다.

aws 에서 s3 버킷에 대한 삭제 제한을 해야 할때가 있다.

이경우에 root access key를 생성하여야 한다.

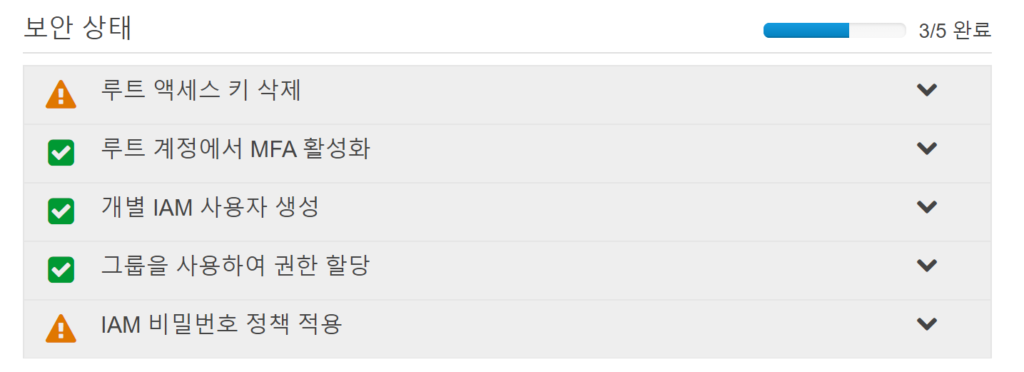
iam 대시보드에서 mfa 와 루트 엑세스키를 생성할수 있다.

보안자격증명 관리로 이동해서 진행한다. 과정은 간단하고 쉬우니 URL을 참고하자.

https://docs.aws.amazon.com/ko_kr/IAM/latest/UserGuide/id_credentials_mfa.html - MFA 활성화

https://docs.aws.amazon.com/ko_kr/general/latest/gr/managing-aws-access-keys.html -access key 생성

생성한 키로 aws cli 를 사용가능하도록 설정한다

/root/.aws/credentials 다음 위치다.

access key를 넣고 mfa 를 확인해보자

root@ip-10-0-0-12 ~]# aws iam list-virtual-mfa-devices
An error occurred (AccessDenied) when calling the ListVirtualMFADevices operation: User: arn:aws:sts:: usernumber :assumed-role/AmazonEC2RoleForSSM/i-052ebb4fb1eade551 is not authorized to perform: iam:ListVirtualMFADevices on resource: arn:aws:iam:: usernumber :mfa/

루트권한이 아닐경우 위와같은 에러가 난다 administrator 계정일경우 ListVirtualMFADevices 정책이 부여되어있어 에러가 발생하지 않을것이다. 하지만 mfa는 사용할수 없을것이라 root key여야 한다.

명령어가 정상적으로 작동하면 아래와 같이 반환된다.

{
"VirtualMFADevices": [
{
"SerialNumber": "arn:aws:iam:: usernumber :mfa/root-account-mfa-device",
"EnableDate": "2019-10-28T01:06:07Z",
"User": {
"PasswordLastUsed": "2020-03-18T00:27:36Z",
"CreateDate": "2019-07-29T13:23:03Z",
"UserId": "1",
"Arn": "arn:aws:iam:: usernumber :root"
}
}
]
}

나는 root 계정에만 mfa 를 활성화 하였기에 루트 계정에서 사용하는 mfa 만 뜬것이다.

root@ip-10-0-0-12 ~]# aws s3api put-bucket-versioning --bucket linuxer-data --versioning-configuration Status=Enabled,MFADelete=Enabled --mfa "arn:aws:iam::usernumber:mfa/root-account-mfa-device <016432>"
An error occurred (InvalidRequest) when calling the PutBucketVersioning operation: DevPay and Mfa are mutually exclusive authorization methods.

linuxer-data 라는 버킷을 versioning 을 켜고 MFADelete 를 활성화 한다는 명령어인데 에러가 발생한것이다. 이때 root 계정이 아니라서 발생한 에러이다.

root@ip-10-0-0-12 ~]# aws s3api put-bucket-versioning --bucket linuxer-data --versioning-configuration Status=Enabled,MFADelete=Enabled --mfa "arn:aws:iam:: usernumber:mfa/root-account-mfa-device 926220"

정상적으로 root access key일 경우에는 그냥 명령어가 떨어진다.

root@ip-10-0-0-12 ~]# aws s3api get-bucket-versioning --bucket linuxer-data
{
"Status": "Enabled",
"MFADelete": "Enabled"
}

이후에 다음과 같이 aws s3api get-bucket-versioning --bucket linuxer-data 명령어로 정상적으로 설정이 됬는지 확인이 가능하다.

gmail-mail-delete

구글메일의 용량이 가득차 문제가 생기는 경우가 있으실 겁니다.

size:100k older_than:1y -@gmail.com

100K 이상 1년 이상 위의 @gmail.com 메일주소를 제외하고 검색해주는 명령어 입니다.

google 검색 규칙과도 동일하므로 패턴을 좀더 확실하게 알고싶으시면

https://support.google.com/vault/answer/2474474?hl=ko

다음 URL 을 참고하세요.

AWS-EBS-encrypt

EBS 암호화 과정을 포스팅 하겠다.

일반적으로 EBS는 기본이 암호화를 하지 않도록 설정되어있다. 이미 생성된 볼륨을 암호화 할 순 없다.

따라서 이미 생성된 인스턴스에 연결된 EBS를 암호화 하기위해선 다음과 같은 과정을 거쳐야 한다.

인스턴스종료-스냅샷-EBS 암호화로 볼륨 생성-인스턴스에서 볼륨분리-암호화된 볼륨 연결-인스턴스시작.

암호화 되지 않은 볼륨이 있다. 이볼륨을 암호화 할거다.

인스턴스를 중지한다.

임시스토리지 유실 안내가 나온다.

인스턴스가 중지되면 연결된 EBS를 찾아서 스냅샷을 진행한다.

tag 를 Name 로 설정하여 잘적자. 생성된 스냅샷으로 볼륨을 생성한다.

추가할 태그는 원래 볼륨에 붙어있던 태그에 -encrypt 태그를 추가하여 원래 볼륨과의 구별을 두자.

인스턴스에서 볼륨을 분리한다. 여기서 중요한점은 원래 마운트 되어있는 포지션이다.

볼륨을 연결한다 이때에 원래의 마운트 포지션에 연결해 준다.

중지된 인스턴스는 보인다.

디바이스 설정이 중요하다. 먼저 sdf 로 연결하고 인스턴스를 시작해 보겠다.

루트 디바이스가 없는 경우 시작이 안된다. 그래서 디바이스연결은 /dev/xvda 를 기억하라고 한것이다. 디바이스 마운트 포지션을 변경하려면 분리후 재연결 하여야 한다.

/dev/xvda 로 연결하면 루트 디바이스로 인식이 된다.

중지 상태인 인스턴스를 시작 하면 정상적으로 시작이된다.

이렇게 볼륨 암호화를 진행하여 보았다.